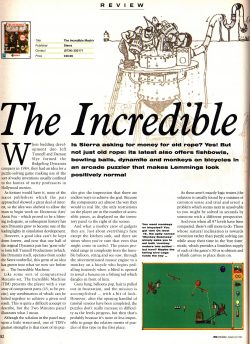
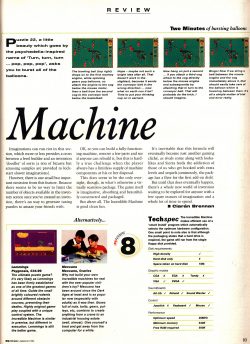
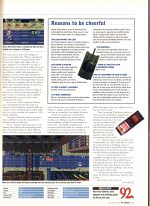
Following on from my playthrough, I could only find the one review of The Incredible Machine among the pile of magazines in the March 1993 PC Review. Their feelings are similar to my own except I wouldn’t suggest Meccano as an alternative.
Category Archives: Off Topic
The Incredible Machine – Part 2
The second half of TIM took me a whole lot longer than the first so I shouldn’t have worried too much about longevity. It included levels that I breezed through in about a minute and others that I agonised over for ages. There doesn’t seem to be much in the way of consistency in terms of difficulty. It’s not necessarily the number of components that make things difficult, it’s the number of alternatives available at the start.
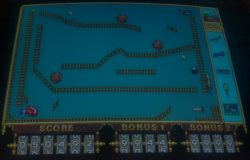
E.g. there is loads going on with this machine in which I have to fire off all the rockets. The pre placed objects make it fairly easy to work back though. I clearly need the torches/glasses to light the rockets, at which point I need to drop something on to them to start the torches, and I can just work back through the process one piece at a time. When the obvious stuff is done, half my objects are placed making life easy.
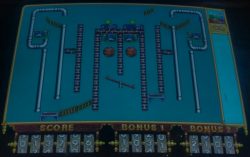
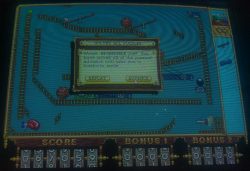
This level on the other hand had me stumped for ages. I have to get both mice running on each side which means moving the two tennis balls into them. I tried to go via the top route as on the right which worked for one side but not the other even though it was the mirror image. I fiddled around for ages with slight ramp adjustments before I figured out to go from the bottom instead. In hindsight it makes more sense but it’s not always obvious how to approach a new level when you have a mostly blank screen and loads of items to place.
Some of the later levels actually offer fewer objects to place and as such are simpler than what came before no matter how complex the actions of the machine. The multiple solutions carry on right until the end which can help out. The final level requires launching the rocket at the bottom right. I’m clearly supposed to come up with a means to get balls up the screen using see saws from the baseball, through the basketballs, eventually setting off the boxing glove and firing the other baseball into the torch to light the rocket. In my solution I didn’t do any of this. I just stopped the bowling ball from falling with a small conveyor and used a couple more conveyors to whiz the baseball to the left and then back to the right through the hole launching the rocket.
Total gameplay was somewhere along the lines of 6 hours. You can carry on building your own machines with unlimited components but I’m more into solving puzzles so I’m stopping here. The puzzles side of TIM is arguably a little on the short side but probably about right to keep things fun. The number of components in TIM sounded like a lot when I started out but there was a slight lack of variety as the game progressed. I still really enjoyed it. The experience could have been a bit more polished but it’s a solid game that is as playable now as ever.
TIM spawned a whole stack of sequels which I should have a look at some time. The are all available on GOG in one pack for about £1.80 in the current sale, a serious bargain by any standards. As for this first game, I wouldn’t quite put it into the classic category but I expect the sequels could push it over the edge if they offer much in the way of tweaks and improvements.
The Incredible Machine – Part 1
After nearly 2 months of doing little but pack and unpack, I’m moved at last and actually have spare time on my hands. All that effort has left me too knackered to explore the delights of Lancashire quite yet so other than the odd Xmas excursion I’m going to do as little as possible this week and play an old game or two.
First up is The Incredible Machine published by Sierra/Dynamix in 1993. I prefer to read up on it after I’ve played it but I do know it was originally going to be a C64 game many years earlier but got held back for other projects. It was still largely the effort of one coder being developed on a shoestring budget.
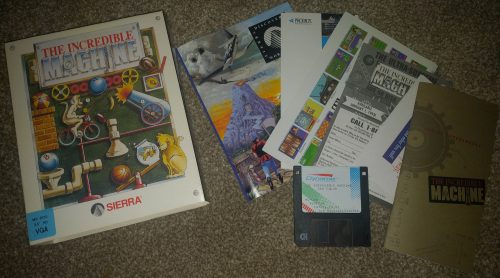
The box is the usual Sierra fare from this period full of adverts for the likes of the Sierra Network. More unusual for one of their games is that it only contains the one disk and the game doesn’t even fill that one disk up. Sierra put out AGI games that used more disk space than this.
The manual portrays the game as a genius simulator where us mere mortals can get the experience of being a maverick scientist. In reality, it’s a puzzle game where you have to place some of the 45 or so components available on screen in such a way as to make something or other happen when the machine is started.
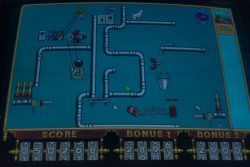
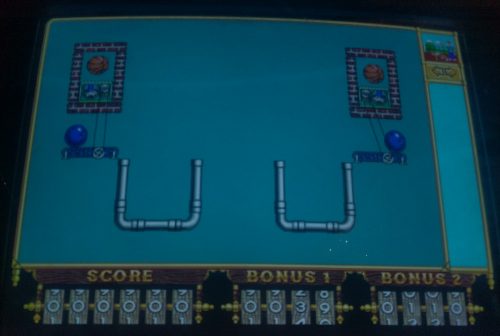
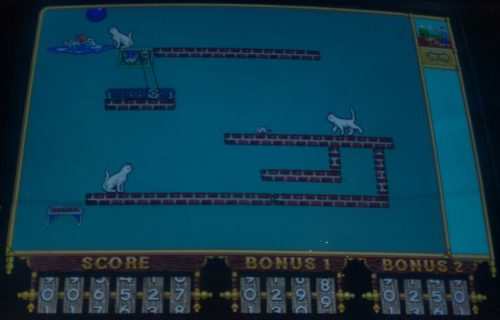
For example here is one of the earliest levels where the two bowling balls have to be moved into the containers nearby. The one on the left is preassembled and I just have to mirror it on the right.
Nothing moves until the machine is started at which point gravity will affect any unsupported objects kicking things into life. In this case the basketball falls on the mice, which starts them running and they power the conveyors under the bowling balls moving them into the baskets.
The game offers a huge number of machine parts which are gradually introduced before things get too complex. I do like how untechnical some of these are. The notion of having to move a cat around the screen by enticing it with goldfish or mice is amusing (if not all that realistic) and not my usual idea of a machine. The puzzles can be quite fiddly requiring very precise placement but I quite like this aspect of it.
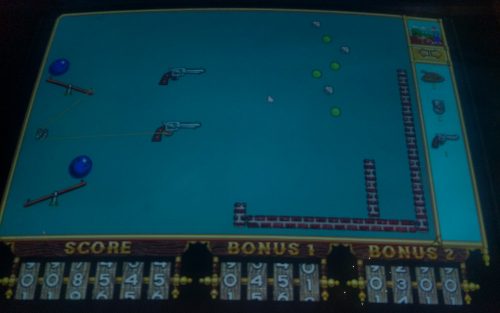
E.g. in one puzzle, I had to use 3 guns to shoot 3 baseballs into a container. The moment the machine is started all the balls start to drop and gun placement has to be precise so that the bullet hits the right ball and pushes it over to the container. Despite this there is no one solution here as the balls starting bouncing against each other and it’s just a case of trial and error. The machine can be reset any number of times, tweaked slightly and started again. There is the notion of scoring points for being quick but I doubt many players pay too much attention to the score.
The music is upbeat and quirky and sounds equally at home on General MIDI or MT-32. It reminds me of the fantastic Willy Beamish soundtrack which isn’t entirely surprising as the same composer worked on both games. The sound is minimal but adequate with some effects for firing a gun/cannon and the like. The graphics in the game are in a hi-res (for 1993) 16 color VGA mode. This was a good call as the game simply wouldn’t have worked at 320×200. The 16 colours doesn’t allow for detailed graphics but the cartoony 2D look suits TIM well enough.
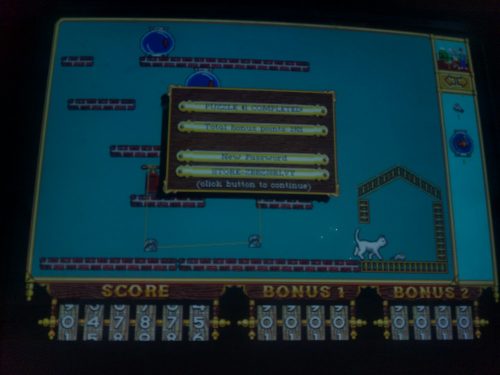
The interface could use a little refinement. If a puzzle requires more than 5 components you have to flick through each group of 5 on the right of the screen using the arrow buttons. It’s crying out for a scroll bar with mouse wheel support. Another annoyance is that the game doles out text codes every time I complete a level. I could seriously live without having to store and type these in to pick up my progress again next time I play the game. It does at least tell me the last code used when I exit to DOS. Other than those points, this is holding up really well for such an old game. Puzzle games like this seem to have a timelessness that isn’t matched in other genres.
TIM spawned no end of sequels and I can see why. It’s a clever concept, genuinely original and so far at least has somehow managed to not be at all frustrating – a rare quality in puzzle games. I’m definitely not convinced about the games longevity. The box says there are “over 75 levels” and I got through 41 last night in not much over an hour. I have played this before but can’t say I remember the individual puzzles. Maybe the solutions are buried in there somewhere and speeding up progress but I’m not convinced. Things are getting trickier so I expect progress will start grinding to a halt before much longer.
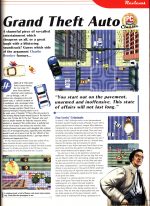
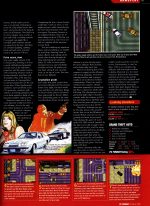
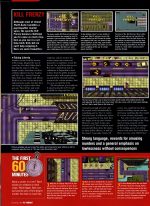
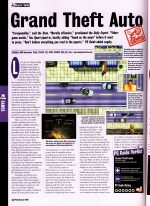
Grand Theft Auto Magazine Reviews
There is no Origin link to speak of but I’m planning on taking a look at the original Grand Theft Auto over the next month. This is a series that completely passed me by until the third game took the world by storm some years later. Since we are just coming up on the 20th anniversary of it being released, I am as usual I’m a bit late to the party.
Normally, I’d play the game first and then look at the reviews but I’m about to start packing for my house move in hopeful anticipation of agreeing a moving date next week. The logical place to start packing is the stuff I can live without for a month or two which in my case means lots of old computers, games and magazines. So before they get stuck into boxes, here are all the GTA reviews I could dig out.
First off we have the Xmas 97 PC Gamer:-
This is from the Xmas 97 PC Zone:-
This is from the Xmas 97 PC Format:-
And to finish, a review from the ever tardy PC Guide in April 1998:-
It’s safe to say that the reviews are all glowing which begs the question as to why I never bought this game back at the time. The answer probably lies in this coming out about the time I started my first job of any note. As I recall they took nearly 6 months to get around to paying me. It was a sizable paycheque when it finally arrived, a large chunk of which went on a rather nice PRS guitar that I still have, but I probably wasn’t spending much on gaming in the first half of 1998. Better late than never anyway. I’m a little wary about the lack of saving mentioned in one of these reviews but am looking forward to getting stuck into this game whether I can finish it or not.
Replacing an FM Towns II CMOS Battery
This isn’t something I was originally planning to write about but after all the recent posts on fixing up the FM Towns I thought I may as well finish the story off. I’ve found so little information when Googling, I’ll try to spare someone else the trial and error I’ve gone through.
At any rate, shortly after finishing a long awaited playthrough of Wing Commander, I decided it was about time to sort out the dead CMOS battery on my FM Towns II UR. I had no idea where the battery was located or how to take the machine apart which is where this guide comes in. Most of these photos were more for my reference than anything else and not with this purpose in mind so bear with the quality.
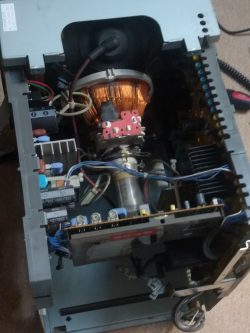
Taking the back of the case off is easy enough. Just undo the 4 screws + remove the memory slot flap and the back of the case will slide straight off. This just presents you with a second inner case of steel panels, the top of which needs to be removed by undoing the many, many screws holding it in place.
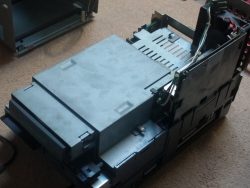
That will expose the built in monitor and the various boards surrounding it. Hopefully this goes without saying but CRT screens act like giant capacitors and are more than capable of giving out lethal electric shocks. You either want to discharge the tube or be extremely careful not to touch it. The good news is that you don’t need to go near this part of the system much so the latter should be fine. The computer part of the unit is on a separate caddy that can be slid out of the back once unscrewed.
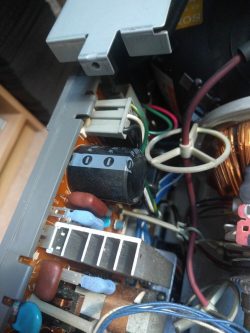
Before sliding this out, you will need to unplug the monitor cable at the front left, the speaker cable at the front right, a connector cable at the back right and another at the top left of the case (the grey three pin plug in the photo above). It should be obvious which cables once you start sliding the unit out.
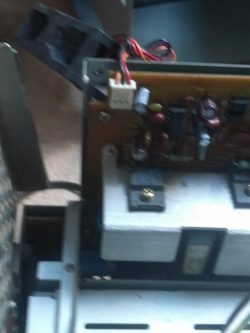
Having got this far, you need to remove the fan at the back of the case so that you can then remove the board it is attached to. You can unscrew the fan through the metal grill. There is nothing attached to the circuit board at the bottom, it just needs unplugging, unscrewing and lifting out.
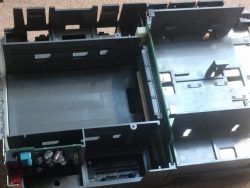
Since I had no idea where the CMOS battery was, I continued stripping parts after this. A lot of these clip into place on the plastic frame so you simply have to pry the plastic clips open to release. It’s quite a neat design but doesn’t exactly give easy access to the motherboard since it’s at the bottom.
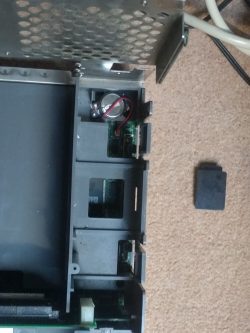
I was expecting the CMOS battery to be attached to the motherboard and that I would need to strip everything right down to that level. As it happens, I could have stopped earlier. Just below where the fan was is a little space with a black plastic tab over the top. The CMOS battery is hiding just underneath the tab. It’s attached to the motherboard via a plug and short wires so you can easily remove it.
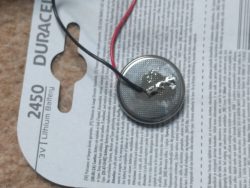
The metal plates at the ends of the wires are firmly attached to the old battery. I pried these off as far as they would go, snipped off the remainder and soldered what was left to a new battery. Soldering to batteries isn’t exactly the best of ideas but it does the job. It’s a CR2450 battery you need if you want an exact replacement. I wrapped this up in tape and started the rebuild.
Once I had the machine back in one piece, I endured a lot more messing around before I was sure my fix had worked. I’ve been using Towns OS to set up my hard drive each time I started the PC. I still found the settings weren’t being saved if I powered off. The clock on the other hand was now keeping time so I knew my battery was working. I had the idea that maybe there was a second battery in the unit for a while but it turns out that all I needed was to use a DOS boot disk, with the setup2 program (as described in a previous post) to set up the hard disk. This then saved the CMOS settings correctly.
Installing Towns OS is nice and easy. There is a utils folder on the towns CD with an install program (it’s the icon with HD and an arrow). I did find out that this wiped my hard disk after I’d done it. Not a big deal but I won’t be importing my Wing Commander pilot into Secret Missions as a result. I had been planning on doing a video showing the last mission but I’ll do the last mission of Secret Missions II instead (when I make it that far).

